Category: Cleaning & Storage

  • Clean & Maintain Your Stove

    Clean & Maintain Your Stove

    Cleaning a Vitreous Enamel Stove

    The high gloss vitreous enamel finish on your stove is tough and hardwearing but should be treated with care. Here are some tips to help you keep it in the best condition:

    • Cleaning must be carried out when the stove is cool.
    • Regularly wipe the stove with a damp, soapy cloth, followed by a polish with a clean and dry duster. For stubborn deposits, carefully use a non-abrasive, soapy pad.
    • Only use products that are recommended by the stove manufacturer. Most stove companies sell their own brand of approved enamel cleaner. Always adhere to the manufacturer’s instructions on the cleaning product.
    • Do not use abrasive pads or oven cleaners containing citric acid on enamelled surfaces.

    Cleaning a Matt Black Stove

    You only need to use a dry cloth on your matt black  stove to remove any dust or dirt. Do not use any water on the matt black finish as this will cause it to rust.

    You can refresh a matt black stove with a fresh paint finish, either by brushing on tinned paint or by spraying on an aerosol paint; both available from Topline stores. Here is a brief step-by-step guide to painting your matt black stove. Please also follow the paint manufacturer’s instructions.

    1. Prepare
    Brush down the cast iron using a grade one steel wool, ensuring that an even coat remains on the surface. Then dust the area.

    2. Apply Paint
    Apply the paint evenly over the surface. Two to three coats may be required depending on the condition of the original paint. Do not paint on thick coats and always allow the paint to dry thoroughly between coats. Allow the final coat to dry overnight.

    When firing the stove for the first time since painting, open a window as the paint will give off a smell during this first use.

    Cleaning Glass on Stoves

    Typically the glass will clean itself when there is sufficient heat generated by burning fuel. If a build-up of creosote occurs on the glass it may be due to draught conditions, poor quality fuel or low burning for a long time.

    Only clean the glass when the stove has thoroughly cooled. Either use a stove glass cleaner or hot water and a soapy cloth to clean the glass. For stubborn stains also use a fine (grade zero) steel wool.

    Prevent stove glass from blackening with the following tips:

    • The air wash system is only effective on higher rates of burn so ensure the fire is blazing strongly before closing the vents.
    • Avoid poor grade or damp fuel, which exacerbate the condition.
    • Even with good quality fuel, low burning will sometimes show this condition, however when the draught is opened it should clear up.

    Prolong the Life of your Stove

    • Do not burn fuel with a high moisture content such as damp peat or unseasoned timber, as they lead to a build-up of tar in the stove and chimney.
    • Burning soft fuels such as timber and peat can stain the glass. Regular cleaning will prevent permanent staining.
    • Do not burn rubbish or household plastic.
    • Clean the flue ways of the stove every month and ensure there no blockages. Please refer to your stove manufacturer’s manual for instructions as they vary from stove to stove.
    • Clean the chimney at least twice a year.
    • Before loading fresh fuel into the stove, fully remove all ashes to allow better and cleaner burning.
    • Never allow a build-up of ashes in the ash pan, as this will cause the grate to burn out prematurely.
    • Allow adequate air ventilation to ensure plenty of air for combustion.
  • Space Saving Ideas

    Space Saving Ideas

    Keep, Store, Donate or Bin

    Space_Saving_Ideas_01

    Before trying to save space, make sure you need it. It’s surprising how quickly Christmas and birthday gifts, clothes, toys and books can accumulate. Sort everything into four piles: keep, store, donate or bin. Only items that have been used in the last 6-12 months should make it into the “keep” pile. Items that aren’t regularly used but have sentimental value or that are likely to be needed in the future should go in the “store” pile. Everything else should be donated to friends, family or charity, or if they are worn out they should be binned.

    Get Clever with Storage

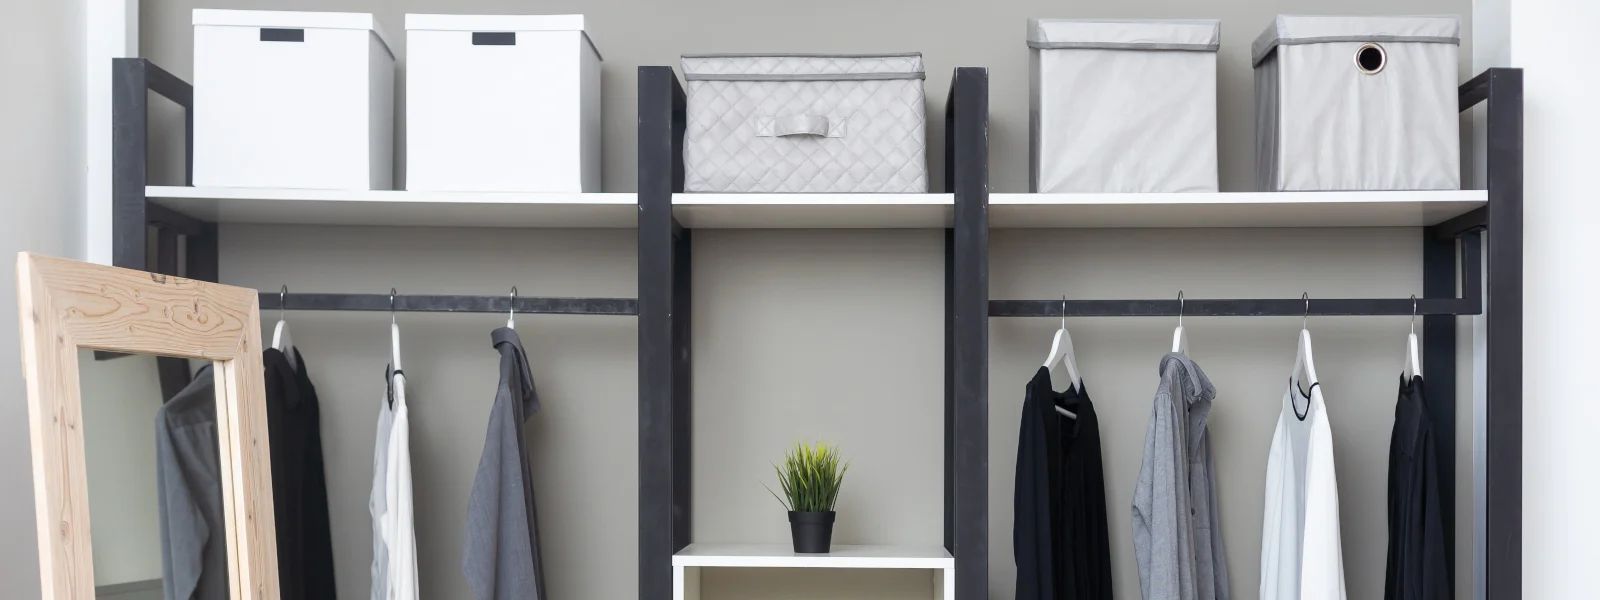
    Are you sure you’ve made use of the existing space in your home and outside it? Are there items that don’t currently have a home in your home, and just tend to sit there? Putting things away as much as possible rather than having them on show, will give a cleaner and much more relaxing feel to a room. Small touches like a wickerwork basket for post and magazines will make a difference. Look for multi-functional pieces of furniture, like a footstool with storage inside or sleek and stylish cabinets, which fit neatly into an unused corner. Outside, adding a small garden shed or a coal bunker to your garden can provide valuable storage for items like fuel, patio furniture cushions, cleaning supplies, etc.

    Add Shelves, Rails & Hooks

    Adding some shelves high up on a wall, above door frames, or in alcoves can look stylish when used to display the right items. Give less attractive items the cabinet space. A single glass shelf across a window can look great with house plants on it, freeing up further countertop space. If you want to get really hands-on, you could look into carving out a shallow alcove between wall studs, which can be great for a book display. Adding hooks and rails to the insides of cabinet doors make ideal spots for hanging saucepan lids, utensils, tea-towels, etc. Hooks and racks that match your décor can also look great on kitchen walls for displaying utensils or spices. Magnetic strips are also very handy for holding utensils in the kitchen or tools in your shed.

    Scan, Save, Recycle

    If you’re hoarding boxes of old greeting cards, letters, photos and  other papers, maybe you could scan some of them in and save them to your computer. You can then also save them to an external hard-drive to be safe, and shred and recycle the real things to save more space.

    Add Lights & Mirrors

    Once you have reclaimed space, you can optimise the results by boosting the light in the room. Banishing any shadowy spots with lamps and mirrors will make a room feel bigger and brighter. This combination further increases the perception of space.

    Tip: make a room feel bigger by placing curtain poles as close to the ceiling as possible, and hanging curtains which just about reach the floor.

  • How to Clean Windows

    How to Clean Windows

    Step 1: Check Weather​

    The best time to clean your windows is on a cloudy day. If you work on them while the sun is shining, it will dry your cleaning solution too quickly, leaving streaks.

    Step 2: Wash Exterior Window

    Fill up half a bucket with warm water and add some washing-up liquid. Soak your sponge in the bucket and wipe the window from top to bottom and side to side thoroughly to remove as much dirt as possible.

    Step 3: Squeegee Exterior Window

    Swipe a window blade (squeegee) from top to bottom across the window to remove excess suds. Wipe the blade with a cloth after each stroke. Keep repeating this step until the glass is completely dry.

    Step 4: Dry Exterior Window Frame

    Window_cleaning_Step_04

    Use a cloth to wipe the window frame dry. This will stop water from dribbling down onto any panes below and will help create a tidy finished look.

    Step 5: Window Vacuum (Optional)

    An alternative to a window blade is an electric window vacuum. This tool is highly effective at cleaning windows and avoiding streaks.

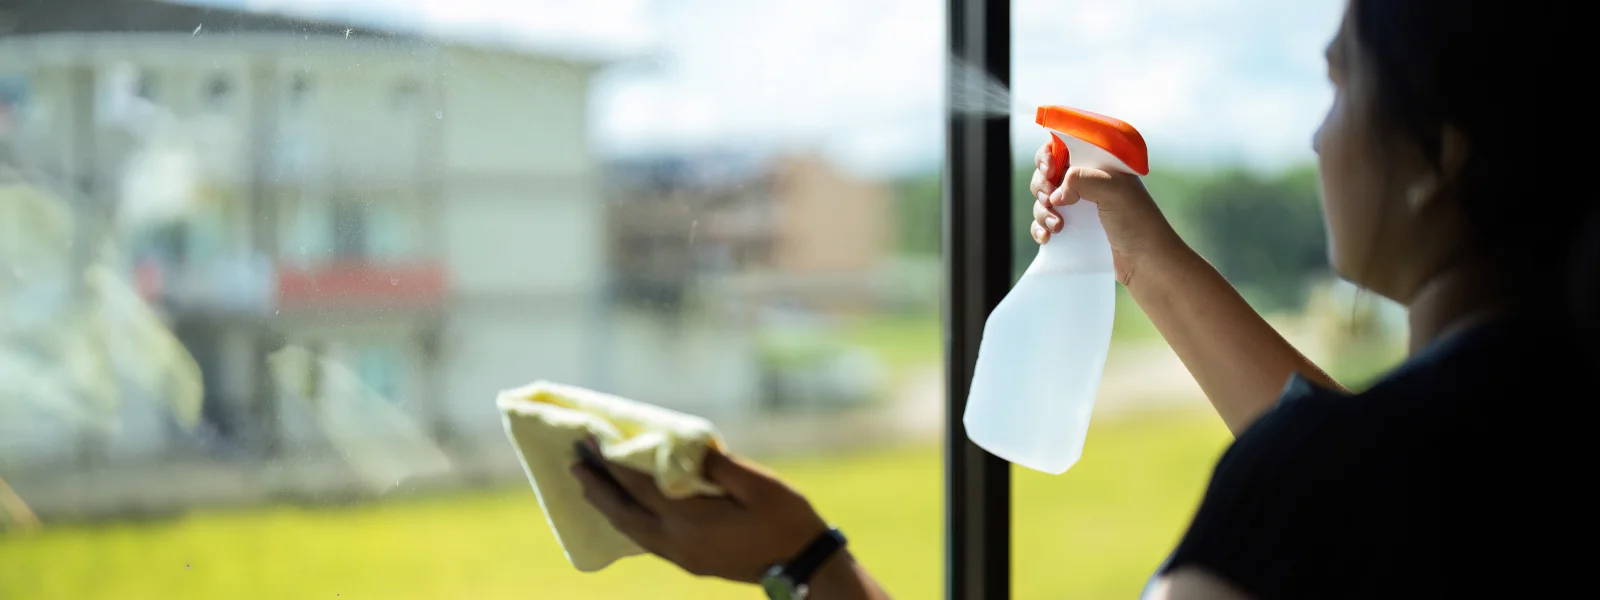
    Step 6: Spray Interior Window

    For interior windows, start by spraying thoroughly with window cleaner.

    Step 7: Polish Interior Window

    Window_cleaning_Step_07

    Give the window a firm wipe with a cloth from top to bottom and side to side to get rid of all dirt.

    Step 8: Remove Remaining Streaks

    Window_cleaning_Step_08

    To remove any remaining streaks, simply scrumple up some black and white newspaper and rub the streak thoroughly. It should eventually disappear.

  • The Best Ways to Remove Mould & Mildew

    The Best Ways to Remove Mould & Mildew

    Mould and mildew are fungus cousins and have similar features: both like moist, warm areas; can grow on a multitude of surfaces, and of course, they are both unwelcome fungi that no homeowner likes to see in their home.

    But these two fungi have striking differences when it comes to size, colour and texture:

    • Mildew is a surface fungus that can be easily identified as a flat patch of grey or even white fungus lying on the surface of a moist area. Mildew has a nasty, musty smell and a powdery texture.
    • Mould can be black, brown, blue, green and even yellow in colour, and is often the result of a much larger fungus infestation. It can appear fuzzy or slimy in texture. Mould is far more dangerous than its mildew cousin, but both can be hazardous to your health.

    Did you know? Not all mould is bad. Penicillin, one of the most important antibiotics ever developed, was derived from penicillicum mould. Although, we wouldn’t recommend growing your own at home; best to leave that to the pharmaceutical scientists!

    Mould on titles Mould and mildew spores can easily travel through the air and settle on any home surface. They gravitate towards any surface with excess moisture or water build-up. The excess moisture can arise from leaky fixtures, flooding, bad drainage, poor ventilation, condensation or high humidity. Any source of moisture makes ideal conditions for mould or mildew.

    So mould or mildew has invaded your home, now what? Act quickly, roll up the sleeves and start removing mould and mildew by following these simple steps:

    Top Tip: When cleaning mould and mildew wear a facial mask to prevent breathing in mould or mildew spores.

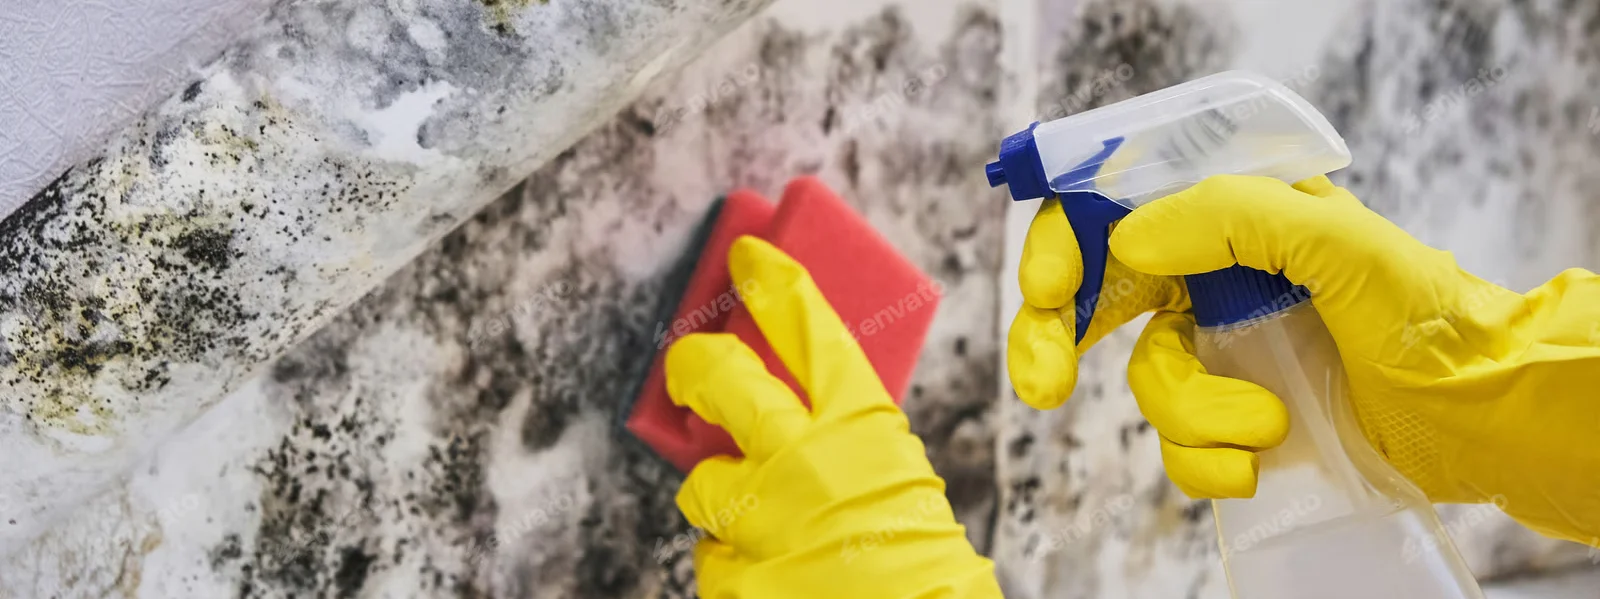
    • Cleaning titles Mix a solution of equal parts bleach and water in a spray bottle, and spray it over the infected surface. Let it sit for 15 minutes.
    • This is the part where you will need to use some elbow grease… Using a stiff-bristled brush, scrub the affected area.
    • Rinse thoroughly and let dry.

    There are various products on the market specifically formulated for removing mould and mildew that can be used instead of bleach. Remember never to mix cleaning solutions as this can cause dangerous chemical reactions.

    • Always follow the instructions on the packaging.
    • Wear rubber gloves and old clothes to prevent skin irritation and stains or damage to your good clothes.
    • Make sure the room is well-ventilated.

    Prevention is better than cure! Here are a few tips and tricks for keeping mould and mildew at bay. 

    • Remove excess moisture from the air by using a moisture absorber such as the Unibond Aero 360° Pure Moisture Absorber System.
    • Fix all moisture problems in your home. Repair leaky roofs and plumbing fixtures. Ensure bathrooms and kitchens have sufficient ventilation.
    • Don’t let wet items linger. Avoid leaving damp towels on the floor or in laundry baskets for more than 48 hours as this is all it takes for mould and mildew to develop and find a new home.
    • Consider installing an electric extraction fan to remove excess moisture during showering or bathing.
    • If you haven’t got a fan, open a window when showering.
    • Paint areas prone to mould and mildew with anti-mould and mildew paint. This specialised paint contains a biocide that will prevent mould or mildew forming on its surface. Make sure not to paint it straight over mould or mildew as this will render the paint ineffective.
    • Adding insulation to cold surfaces, such as exterior walls and floors, will reduce the build-up of condensation and therefore prevent mould and mildew.
    • Increase air circulation in your home. Open windows regularly to allow fresh air to naturally ventilate your home.
    • Vacuum and clean regularly. This will help remove surface mould and mildew before it gets a chance to settle, grow and spread.
  • Ways to Conserve Water

    Ways to Conserve Water

    That annoying, repetitive dripping sound isn’t simply a nuisance; just one drop per minute can waste up to 190 litres of water per year.

    Leaks and drips will waste around 10% of your water supply, costing you money for no good reason. Address leaking toilets, pipes and dripping taps as a priority.

    Check toilets for leaks first. If you can see or hear water flowing into the toilet bowl, you have a leak. Some leaks are silent however; to check for these, add a few drops of food colouring into the cistern. If the colouring appears in the bowl within 20 minutes, you have a leak.

    Try to pack as much into each dishwasher and washing machine load as possible. Some washing machines have programmes designed for smaller loads, which are a great option when required as they will adjust the water level accordingly.

    Don’t pre-rinse dishes under the tap before placing them in the dishwasher. If they are encrusted and need a bit of work before they’re put in the dishwasher, soak them all in the one sink or basin of water; all you have to do is soften the deposit, the dishwasher will then clean them properly.

    A water butt will collect and store rainwater from your gutters, and make it easy to access and use. Most water butts even feature a tap that can be connected directly to your pressure washer. This rainwater is ideal for watering your plants, which actually prefer rainwater to tap water that contains salt and chlorine. The collected rainwater is also ideal for outdoor cleaning jobs. Aside from the small cost of a water butt it doesn’t cost you anything, while also helping to keep your water charges down. See our guide on  how to install a water butt.  
    Use the shower rather than the bath, it will use less water. Turn the water off while you brush your teeth or shave. Leave a bucket near the shower and use it to collect the water that runs while you wait for the temperature to regulate. This water can be used for watering plants or for household and cleaning jobs such as washing floors and windows. Shower quickly! Even five minutes less in the shower can save up to 75 litres of water.


    • Switch from boiling to steaming as a cooking method to reduce your water usage.
    • For a cold drink, keep a jug of water in the fridge instead of running the tap.
    • Use an energy efficient dishwasher instead of washing dishes by hand. Surprisingly it uses much less water.
    • If your dishwasher was made in or before 1994, it will use on average 37 litres more water per cycle than a newer model; so hanging onto your old model may be a false economy.

    You can now find a selection of innovative water conservation accessories at hardware stores, which will either make existing appliances more efficient or help you in your efforts to use less water. Some examples include specialised shower heads, shower timers/alarms, water flow restrictors for taps, water displacement apparatus for toilets, and new low water toilet flushing systems.